Adding pavers to your outdoor space can transform it from ordinary to stunning. Whether you're creating a new driveway, walkway, or patio, pavers offer durability, functionality, and timeless aesthetic appeal. However, improper installation can lead to costly repairs, uneven surfaces, or worse, a complete redo of the project.
If you're planning a paver installation in The Villages, FL, it’s crucial to understand the most common mistakes homeowners and contractors make and how to avoid them. This guide will walk you through those issues and ensure your project is set up for long-term success.
Before jumping into the specific mistakes, let's briefly discuss why getting your paver installation right is so important. Beyond aesthetics, proper paver installation also ensures:
Now, onto the pitfalls to avoid!
Many people rush into their projects without proper planning. This often results in poorly designed layouts and mismatched materials.
How to Avoid It:
Pro Tip: Consult with local experts in The Villages for advice on planning your space.
The most common cause of uneven or sinking pavers is a poorly prepared base. Without a strong foundation, even the most beautiful paver design will fail over time.
How to Avoid It:
Failing to compact each layer thoroughly leads to shifting and settling pavers. Uneven surfaces can create safety hazards and ruin the overall look of your outdoor area.
How to Avoid It:
Using construction sand or other incorrect materials can result in pavers shifting over time. Polymeric sand is often overlooked but essential.
How to Avoid It:
Polymeric sand also minimizes weed growth and helps resist erosion, a must-have for Florida’s unpredictable weather.
Improper drainage can lead to pooling water, damaging both your pavers and the underlying base.
How to Avoid It:
Without proper edge restraints, pavers can shift outwards over time, causing the surface to become uneven.
How to Avoid It:
Irregular joint spacing not only looks messy but can compromise the structural integrity of your installation.
How to Avoid It:
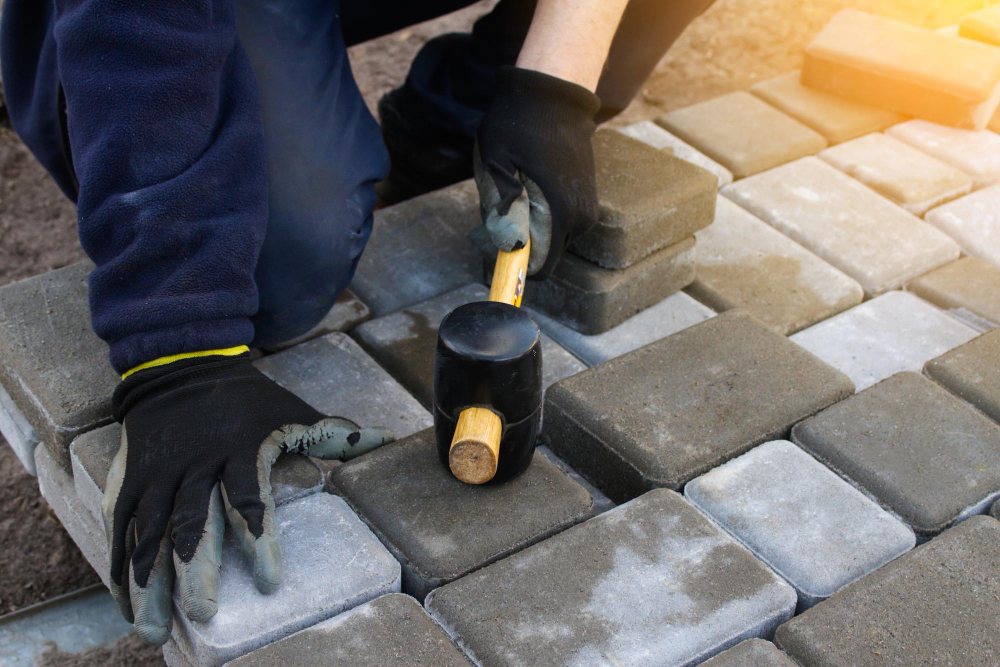
Once the pavers are laid, failing to compact them can leave them loose and misaligned.
How to Avoid It:
While optional, sealing your pavers can protect them from stains, fading, and wear caused by Florida's intense sun and occasional heavy rain.
How to Avoid It:
While DIY projects can be fun and rewarding, paver installation is more complex than it appears. Without proper equipment or expertise, mistakes can happen easily.
How to Avoid It:
Creating a gorgeous, functional outdoor space doesn’t have to feel overwhelming. By avoiding these common mistakes and working with a trusted expert, you can enjoy beautiful, durable pavers for years to come.
At Benchmark Pavers, we specialize in professional paver installation in The Villages, FL, and surrounding areas. From planning to finishing touches, our team ensures every detail is handled perfectly. Plus, with free estimates available, there’s no better time to start your project.
If you need professional pavers installation in The Villages, FL, contact Benchmark Pavers today to request a free estimate!